Eye rolling. Grumbling. General looks of disgust. These are the typical responses I encounter as I ask students to step up into the box for a rabbit clay. I’ve said before, these presentations aren’t difficult, they’re just different. As we hop into spring, let’s celebrate the bunnies and take a closer look at how you can overcome your fears of rascally rabbits.
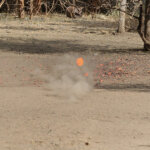
What exactly is a “rabbit” clay? Clays are available in an array of sizes and thicknesses, as well as colors. The standard clay is 108mm, domed and sports an orange top with a black underside. A “rabbit” clay is also colored orange on top and black on bottom, but unlike a standard 108mm that is domed, the rabbit lacks a dome, is thicker and flat all the way across and must be run through a specific thrower.

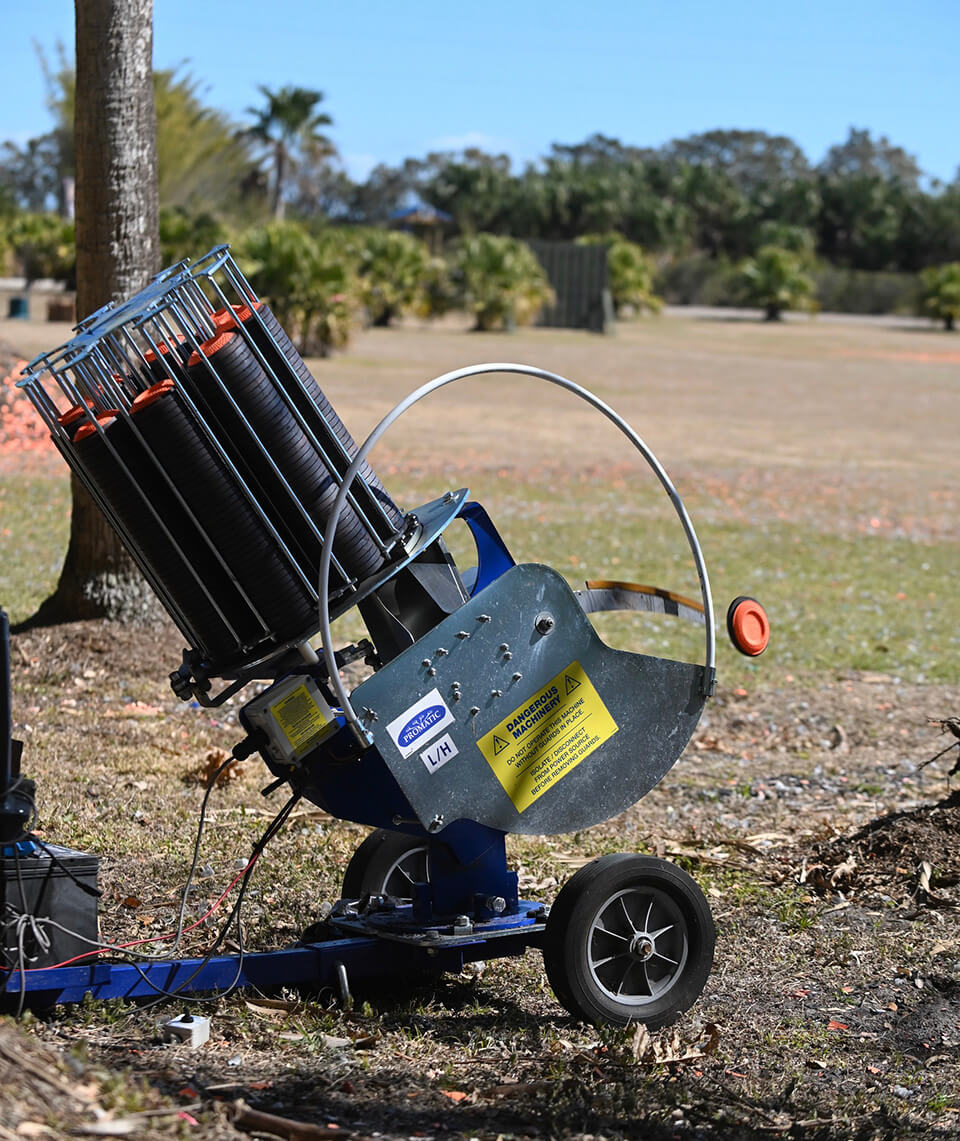
Due to the weight of the rabbit, it presents challenges to target setters. Gravity is a tough aspect to overcome when setting targets and when you toss in friction from the rabbit running along the ground, it does limit your options. The setter can really only manipulate angle and distance to the shooter. Maybe a setter has access to a Rabbue thrower … but that’s another article for another time.
Why Are Rabbits So ‘Rascally?’
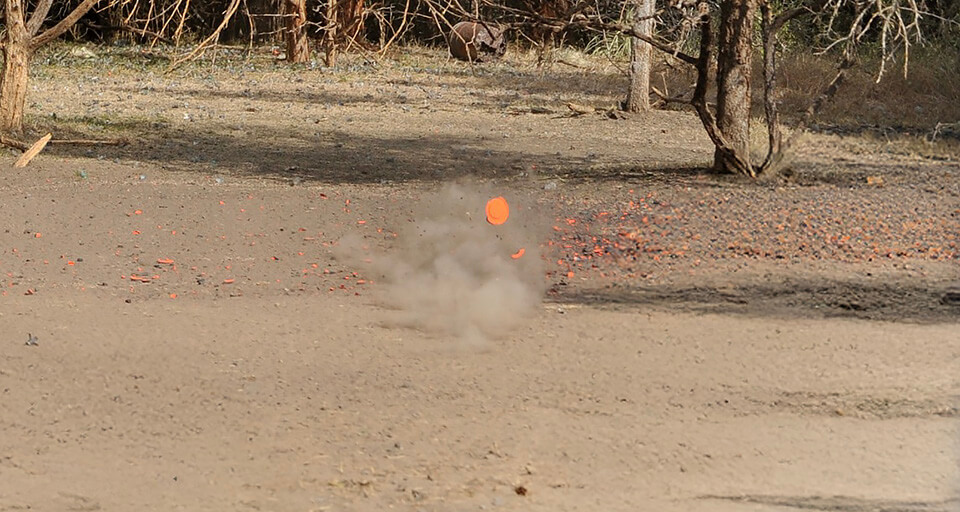
Due to the thickness of these specialized clays, rabbits are great for running across the ground as they can withstand the jarring bounces on their path. And the bouncing is what torments most shooters. There is never a rhyme or reason as to why a rabbit will spontaneously spring from its perfectly good path to perform a brief aerial acrobat.
Let’s dispel a big myth on rabbits. Rabbits are NOT fast. They are one of the slower “birds” on the course. Let me say that again: Rabbits are one of the slower birds on the course. Because they run along the ground, the visual acuity on a rabbit is distracting due to the amount of background behind it. All the grass and ground around the rabbit make it look faster than it actually is and it makes it more difficult to see the rabbit cleanly. Add in the errant jump here and there and a rabbit can be a daunting target.
How to Connect with a Rabbit
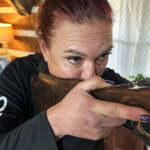
Typically, I will tell students they need to grab the rabbit by the front feet, drag it through the dirt and shoot it in the nose. This puts a shooter on the front, lower edge of the rabbit but keeps them from getting too far ahead. It also allows a shooter to deal with any of those head-scratching hops that may appear. As we all know, there are several methodologies that may be used in the game of clays, and the pull-away tends to allow a shooter a better connection and more successful outcome.
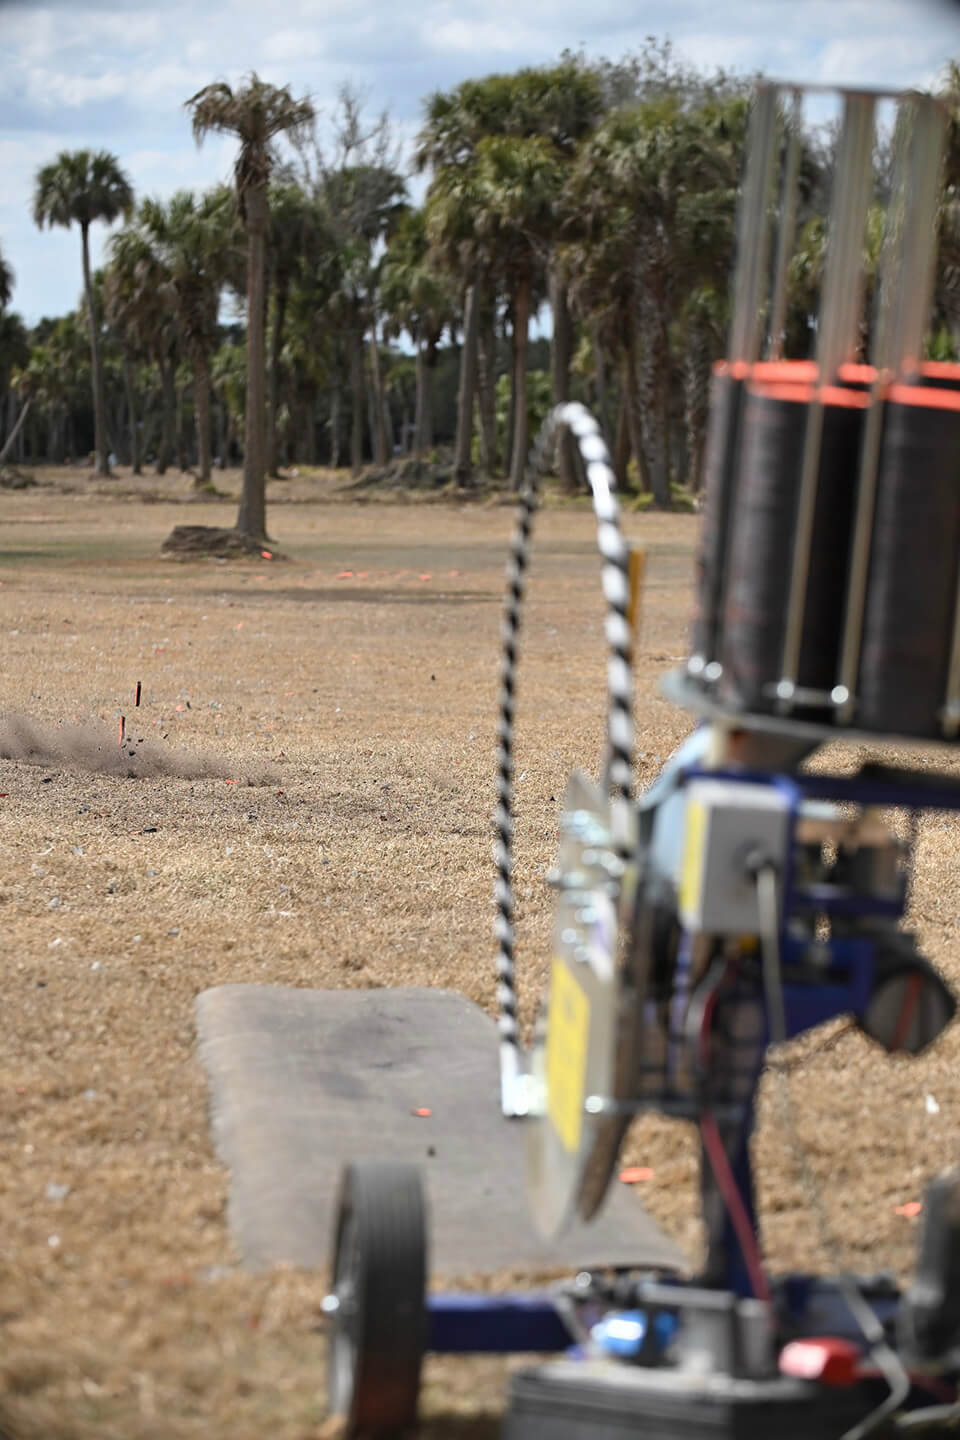
Make sure you have your gun in the path. The rabbit runs along the ground. I’ve stood behind countless students and watched them shoot 2-to-3-feet over the path and way ahead, but they can’t clearly see their mistakes because the background interferes with their sight pictures. Most target setters will utilize a mat for the first 8-to-10-feet of the path in front of the thrower. This ensures the rabbit is able to begin its run unencumbered and keeps it from breaking on irregular ground at the onset of its path. That same mat gives the shooter an exact engagement area. It literally tells you where the rabbit will appear and the path it will take, so you are able to get on your target. By setting your muzzle under the line with that mat, you will keep the rabbit on the top of the barrel, instead of missing several feet over the top.
I can’t stress enough the importance of keeping your muzzle on the 4 o’clock position of the rabbit so your pattern engages the bulk of the bunny. This will also assist you should the rabbit hop – simply shoot right at it. Adding in lead on a close rabbit, or too soon on a distance bunny, will leave you grumbling about the game. Remember, this target is one of the slower birds on the course!
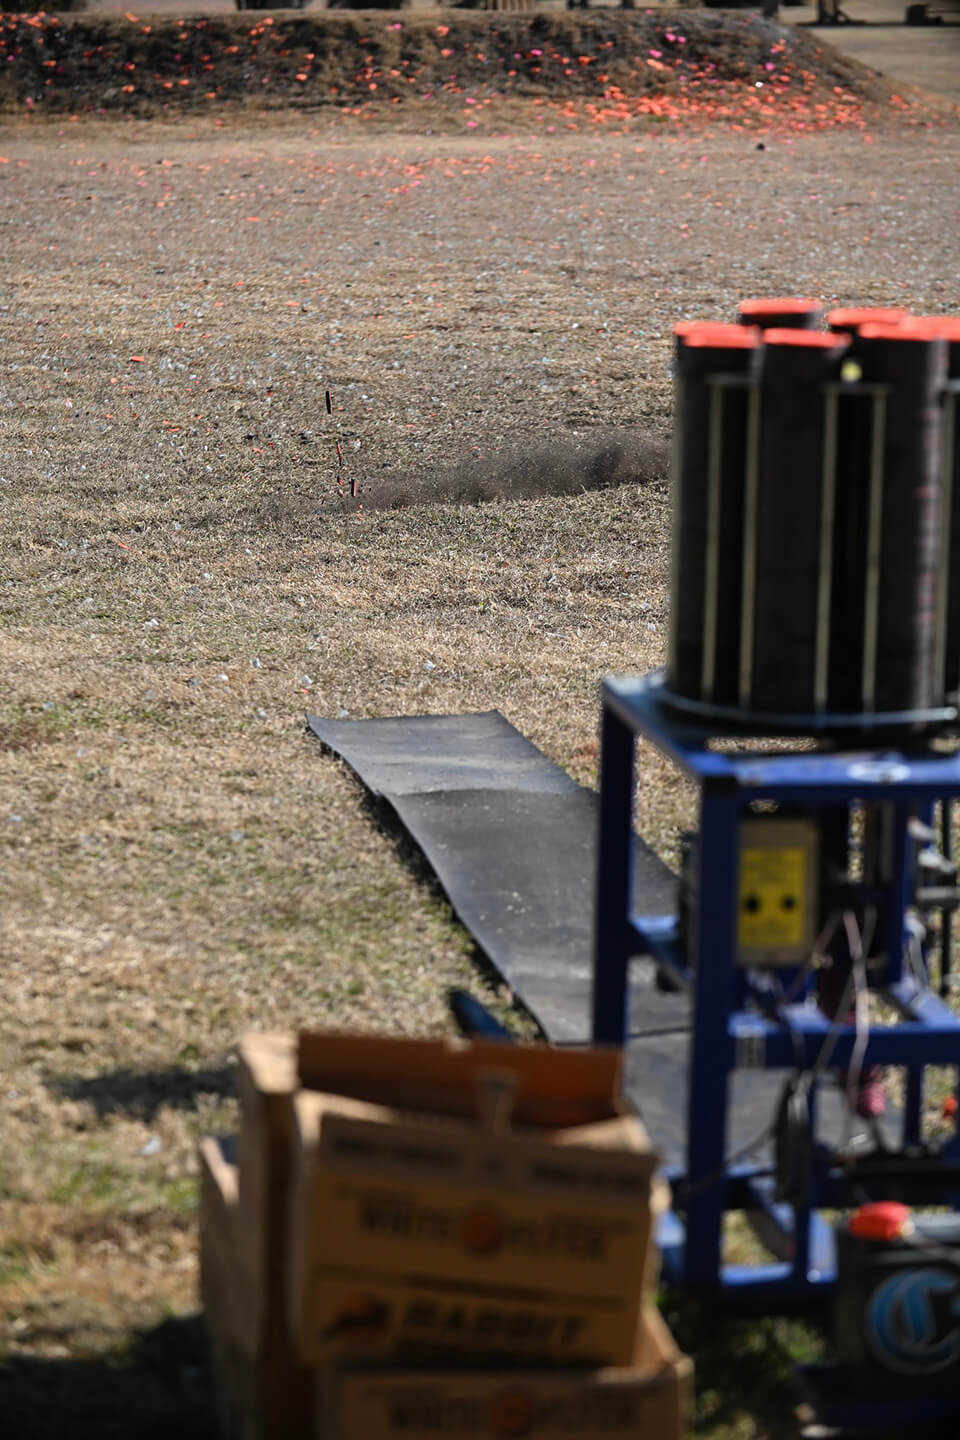
As I said before, this target isn’t difficult, it’s just different. Think about your hold point on a regular, in-the-air target. Your hold point needs to be in that target’s path or you will be trying to correct a mistake from the onset of the release. By utilizing the mat to pinpoint the path, you are setting your hold point in the rabbit’s way. Keep in mind, you don’t necessarily want to set your hold point exactly at the end of the mat; it just gives you a great reference point.
Other Considerations
The thickness of a rabbit target is another issue. Most shooters overthink their chokes, even their shell selections. I’ve had more than one student insist on shooting a 12-gauge, #7.5 through a modified choke or they would never break the bunny. I’ve also had to prove to them a good ol’ 20-gauge #8 through an improved cylinder choke is just as effective.
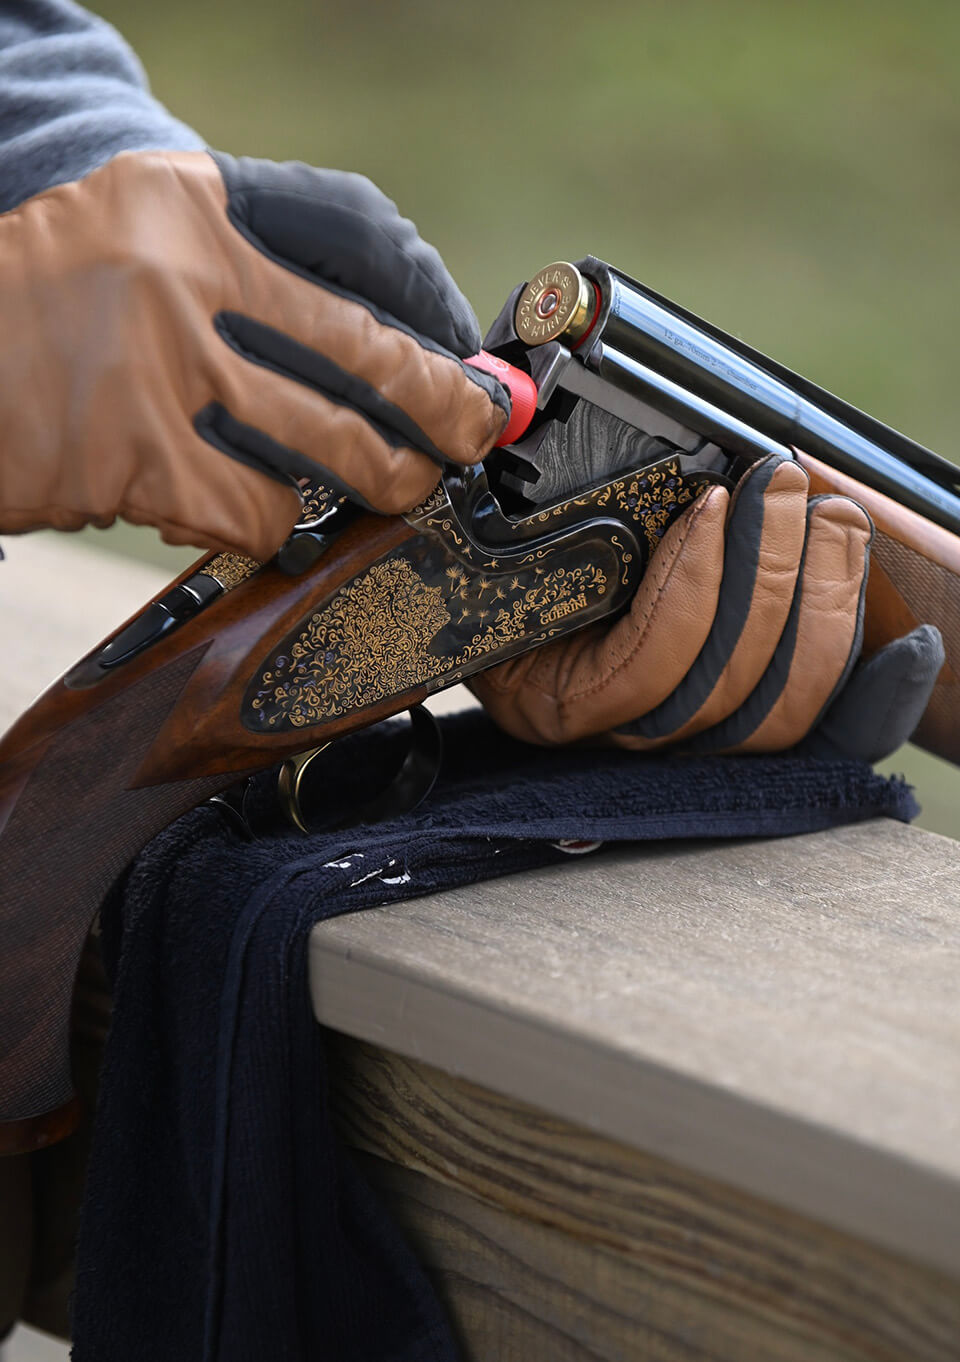
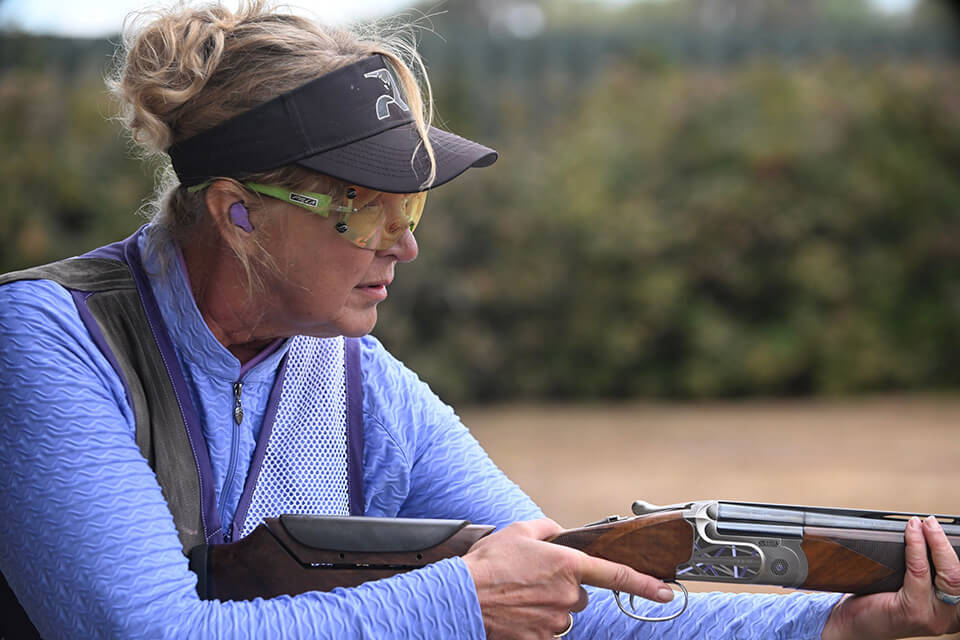
Can you step up in the box under-gunned? Certainly. Using #9 on the average rabbit set-up is not advisable, but if it is a super close bunny, you should be just fine. While my go-to sporting clays gun is normally my Syren Tempio 12-gauge, I don’t let the gun in my hands dictate my success on rabbits. I’ve enjoyed an X on the scorecard with my Syren Elos D2 20-gauge and my Syren Tempio 20-gauge just the same as with the 12.
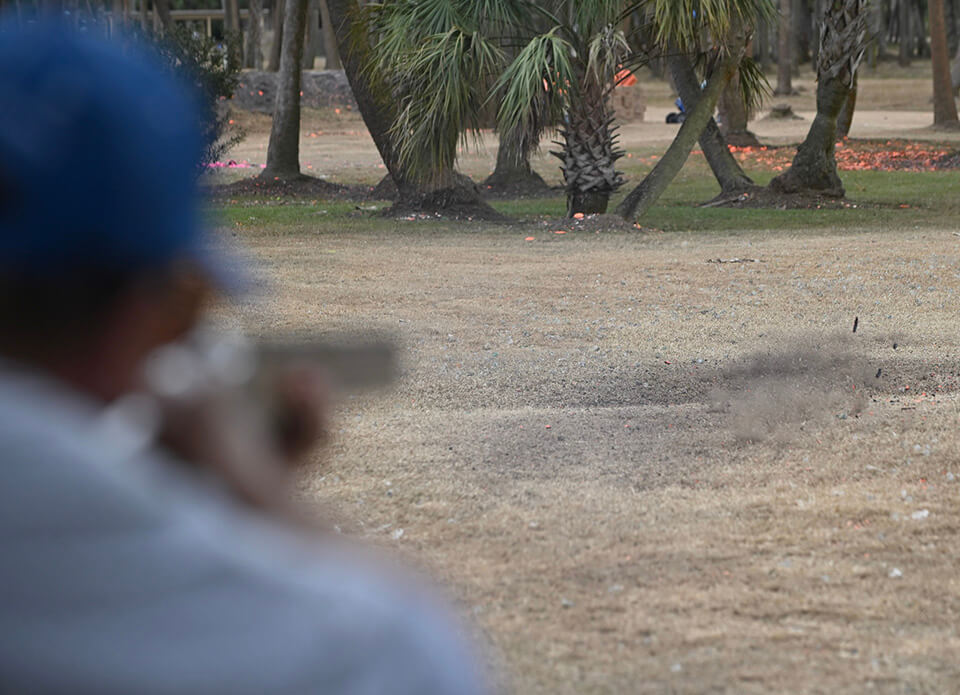
Not all rabbits are set equally. Just the same as flying targets, you have to be able to competently read your target and determine break point, speed, angle and impact. As the distance on a rabbit’s path increases, a shooter will need to push just slightly ahead at the trigger pull. Because there is always a chance of a hop, a shooter needs to stay engaged on the front, bottom edge of the rabbit (its feet) right up until the break. Add in a small push in front and pull the trigger.
The rabbit is not the only bird at the station. There is another bird that must be considered and chances are this will determine how you select your choke set up. Don’t overthink your chokes, but do consider your set up for the full pair.
Not That Big a Deal
Another key piece of advice, worry about the other 97 or 96 targets on the course. There is normally only one rabbit presentation in a round of 100. That means that you only have to break 3-to-4 bunnies in a tournament. Don’t let the rabbit rattle your shooting. Take time to work on these rascally targets and definitely check out this great YouTube video from Fabarm prostaffer Travis Mears.
Enjoying this post? Read more just like it on our Syren Savvy Blog HERE.
*This article was originally posted in our column on WomensOutdoorNews.com written by Kate Ahnstrom and edited by WON Publisher/Editor Barbara Baird.